 VERTICE
How Do You Design an Elevator Cab?

I get asked this constantly. How do you design an elevator cab? Or, from architects and owners, how do you deal with a designer or architect who is designing one? It sounds complex. In all reality, it is not. You just need to know what you are doing. Here is how I do it, in the order I do it.
1. Understand their vision
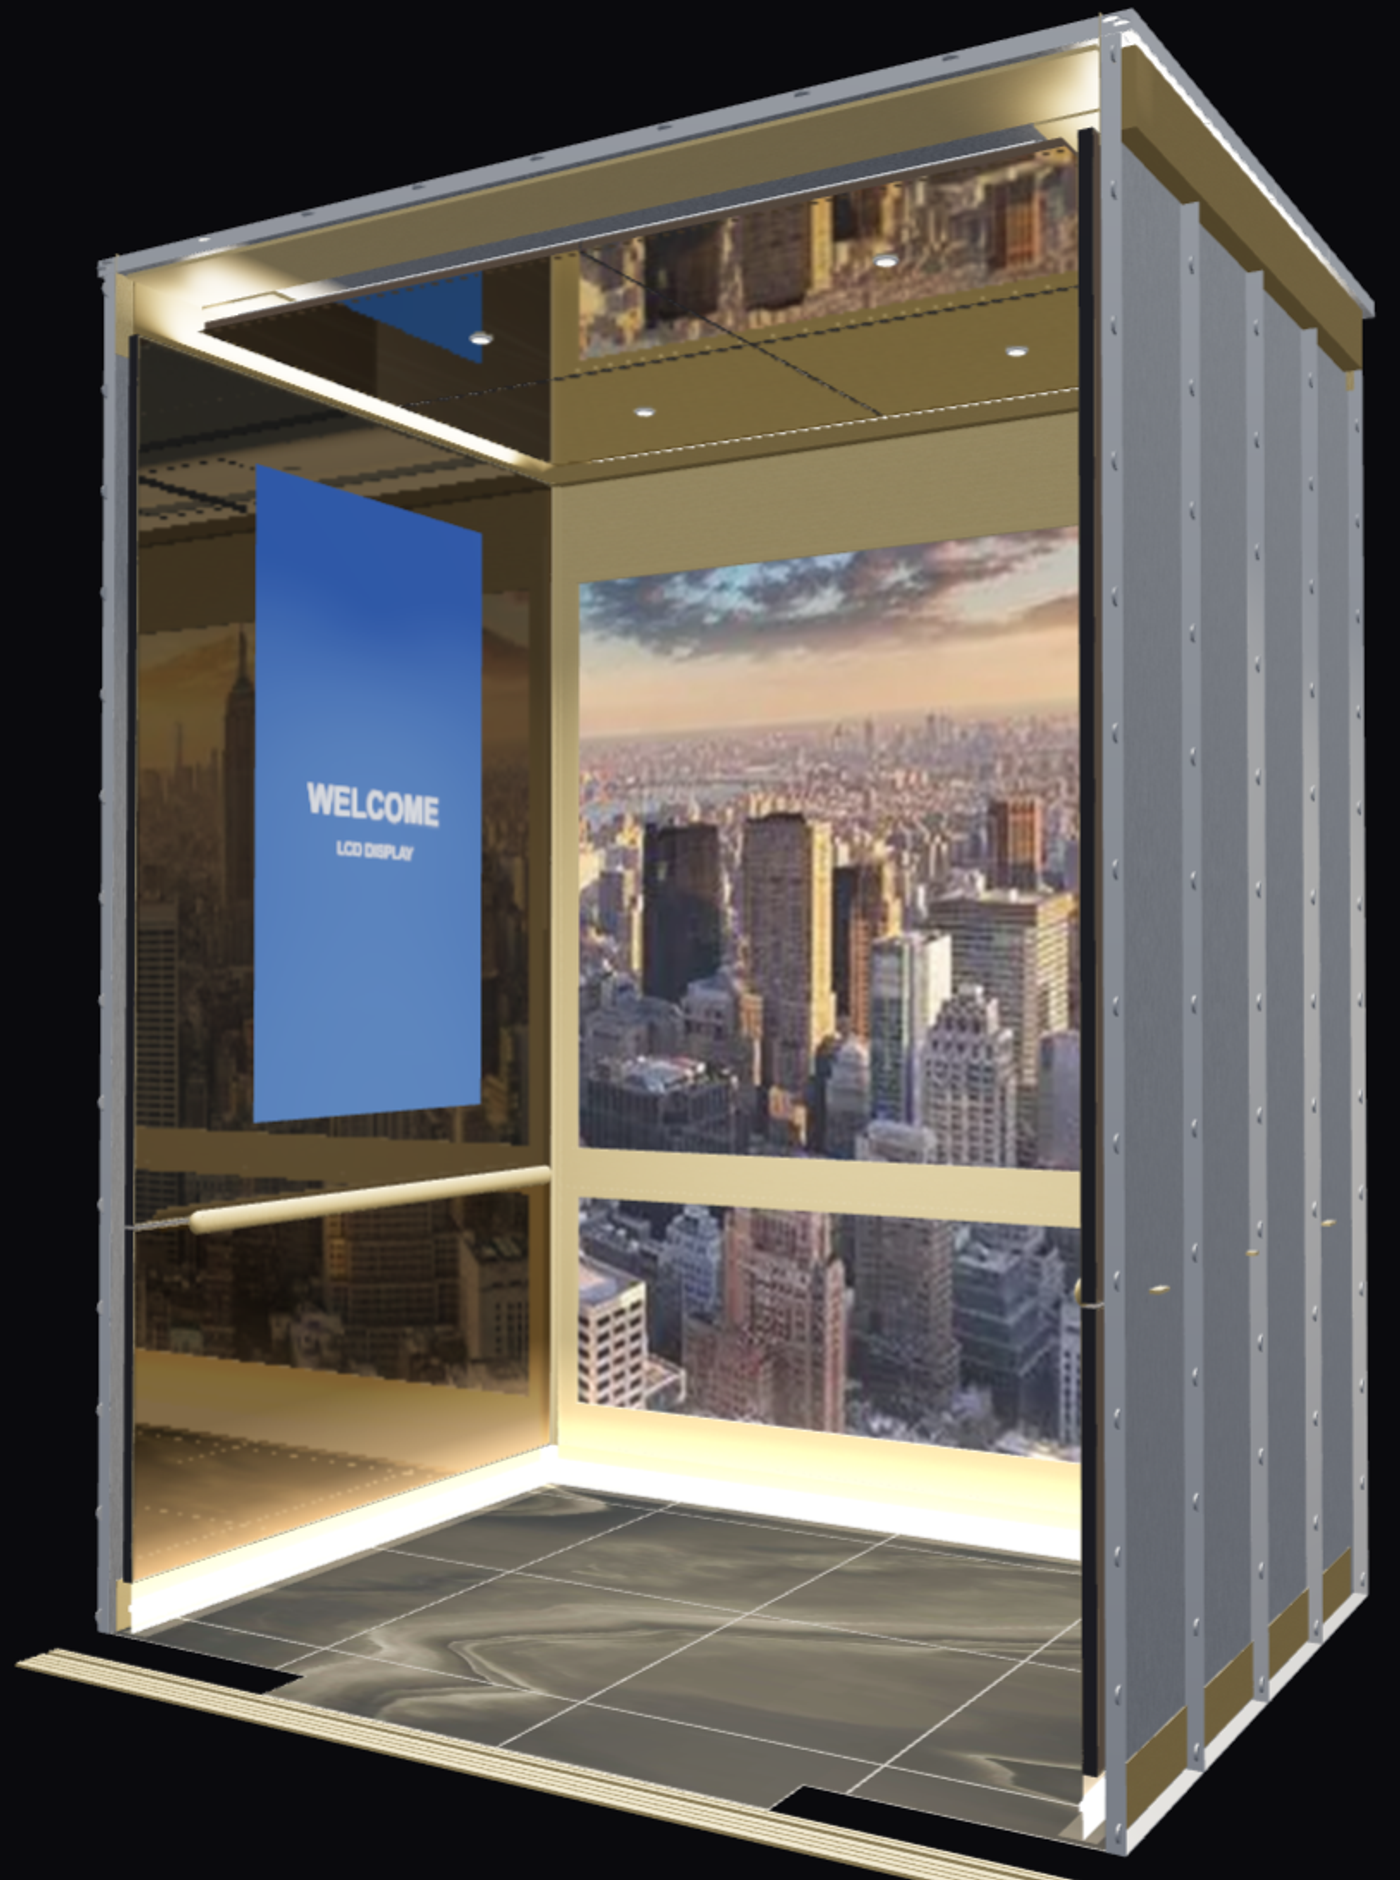
Everyone has a vision of what they want, whether it is an owner, a developer, a board design committee, a designer or an architect. They can see the end of the journey in their mind and they are looking for you to pave the road to it. So you do not pick it apart. You do not criticize details, comment on what should change, or, and this is the real danger when you rely on someone who profits from selling what they want to sell, steer them toward your vision instead of theirs. Immerse yourself in what they are seeing. Listen to every detail and ask as many questions as it takes to understand their ultimate goal. Then, because we have the rendering capability, render it live while the conversation is happening. Piece by piece, checking along the way. Once it is on the screen, you are at close to one hundred percent of what they are dreaming of, or close enough to move on.
2. See what they want to see
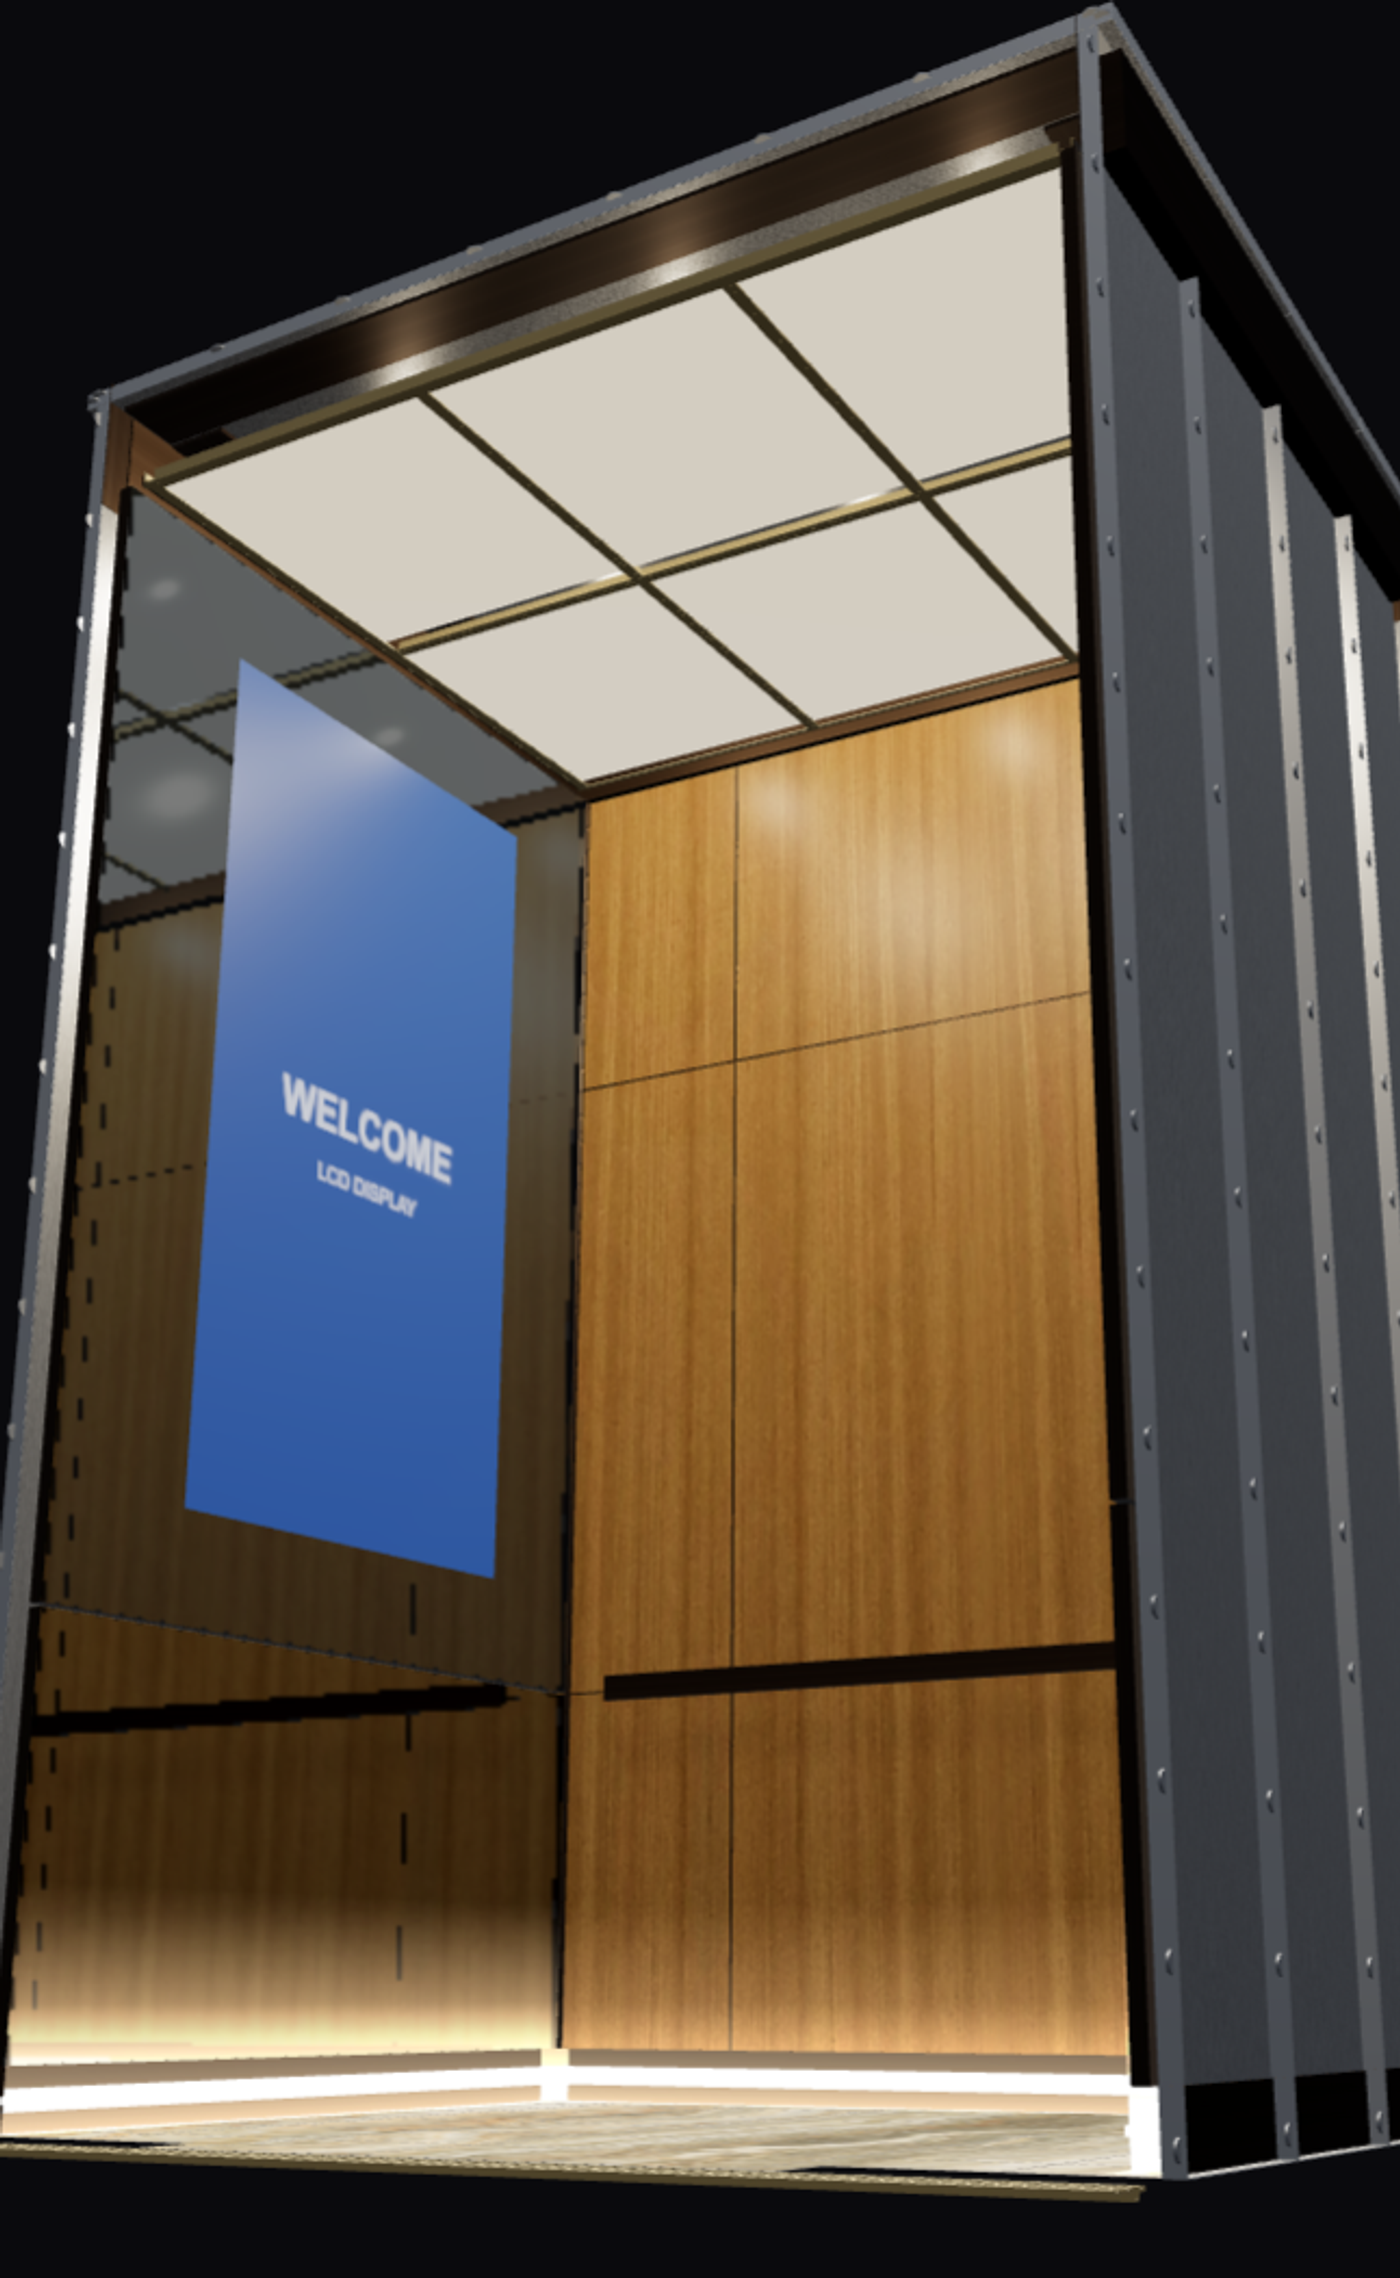
I will be honest, this one takes natural ability and a lot of experience building elevator interiors. Through conversation, sketching and hearing every detail, you picture it in your mind, then draft it in the rendering, and the screen begins to take the shape of what they are trying to explain. Because we can customize the rendering software in any way, as long as it stays buildable, every detail they want can be achieved live, promised for the next day, or discussed item by item. That last option is where experience matters most. Discuss what cannot be done, and more importantly why, as you go, instead of after the entire design is made. Code, weight, an impossible fabrication or feasibility in a moving car can all be explained and compromised one piece at a time, rather than ripping apart a finished design built on that one bad step. The earlier we are in the conversation, the better, because fully drawn designs and already approved materials make changes far more painful. The goal at this stage is simple: achieve their vision as closely as possible with fabrication, Code and feasibility in mind. Success here is your client's alliance, not being the bearer of bad news.
3. Find out what they DON'T want
Most everyone knows what they want. Very few have considered what they do not want. Increased maintenance cost, or finishes that cannot be maintained at all. Weight that drives up the cost of the elevator system itself. Code violations or failing the test. Added passenger safety exposure. A design that ignores the building type and what the car is actually for. Repairs that become impossible down the road, or damage to a lower-tier material that cannot be corrected. Materials that demand immediate extra spending on attic stock because a natural product, or one that varies greatly when reproduced, will never match again. Going through these one by one reinforces why you are in the room, and it is where the design changes and ideas you have been quietly forming while listening to their vision finally have a place to land.
4. Understand the use the elevator will endure
A high-end hotel may want very high-end materials. Glass, leather and wood veneers all make absolutely beautiful cabs. But a hotel full of rooms and light on service cars, with luggage, luggage carts, souvenir boxes and heavy bags rolling through, will turn an amazing image into a battered statement very quickly, especially without the enforcement of passenger-only use. The same goes for a residential building with limited or no service elevator, a commercial building with no bank of freight cars for deliveries, a hospital where cars get slammed in a code blue, or a school where backpacks and a crowd of students squeeze in to make the next class. When you explain the real purpose of the car, clients stop arguing their vision at the onset and start thanking you for the design suggestions.
5. Build the building's handshake
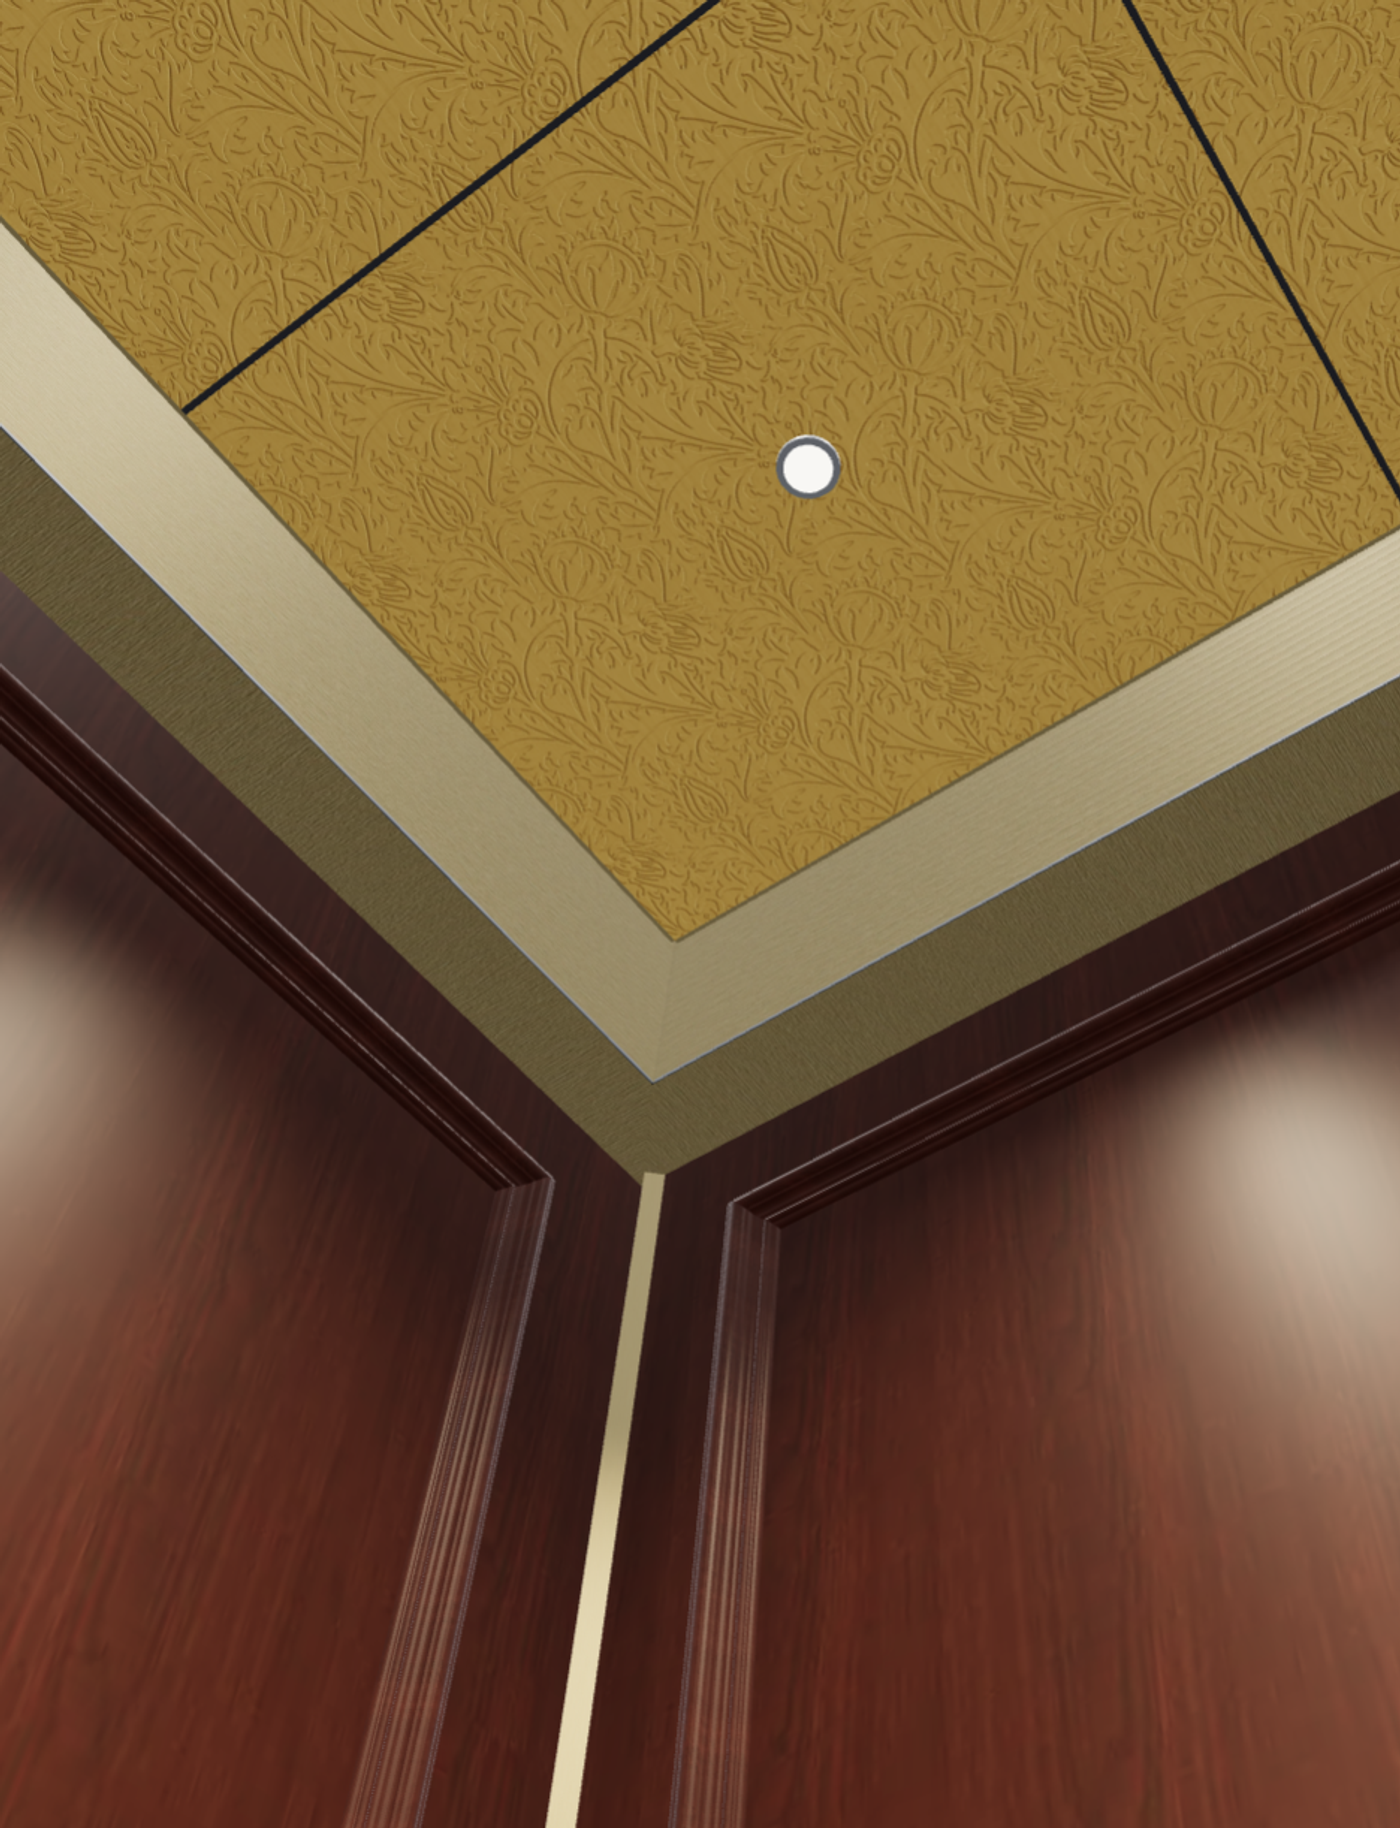
Now you have a fresh canvas with their sketch on it and a palette of materials to choose from. The materials and details of the lobby, the decor and the features should extend into the elevator and beyond. That is the building's handshake. The lobby has beautiful glass that cannot go in the car because of its purpose, Code or cost? Can it be used anywhere? Can it be limited to low-impact areas for durability and weight? Is there a composite, an acrylic or a resin that gets the same look? On a hotel I designed, we used a fire-rated, high-impact resin with a woven fabric simulated interlayer, very similar to the glass and fabric nightmare they would otherwise have been replacing over and over at another property. Exotic veneer, stone and leather get the same treatment. Find solutions, not problems. Offer experience, not warnings. Look for the why behind what they are asking for, and look at what already exists in their lobby or building that they have not considered. This is where your consultant side offers your design side, and a quick sketch or a click in the rendering program can take the meeting down a path nobody considered but everyone happily follows.
6. Get the budget, the timeline and the building statement
These may come up early in the conversation. A flat no at the beginning does two things. It upsets your client by smashing a vision you have not tried to help them achieve, and it makes you the roadblock. With their vision on the screen, a timeline issue or added cost becomes a road sign with options to their destination, not a dead stop. You are hired to give guidance and professional expertise on how to fulfill a vision, not to stomp on it. A turn in the road may be the only way, but it is their option and their decision. They are driving. You are the navigator. Maybe the budget that was thrown out arbitrarily, so bidders could be compared apples to apples, can be raised. Maybe they have already raised it in their mind and have not said so. Maybe they can wait a little longer for the right product, and the other contractors can adjust their schedules before it becomes a cost. Maybe temporary finishes arranged now beat a disastrous surprise later. This transparency is what separates a trusted third-party consultant from a contractor looking at change orders and profit, or a yes-man selling something that cannot be accomplished just to make a sale. And a time or two, you will be asked to rip it all down and start from scratch to show what can be done on time and on budget. Better to be the savior of the project at that point than the bad guy at the beginning or the never-again name at the end.
7. Build the plan, or the reasons why not
After the first six steps, this one is simple, because the ball is happily and completely in your court. You know what they want, how they want it, when they need it and what they will pay for it. It is all in the program, all confirmed buildable, with how long it takes and what it costs. You have been through feasibility for use, durability for purpose, and transparency on cost now and in the future. You have confirmation that what is on the screen is exactly what your client expects, a review of every detail, and coordination with the other trades on what is done, what is left and how long each needs. From there a few steps produce a clean, understandable package: fully detailed specifications, checked to Code and existing conditions, with the fabrication timeline and estimated cost. Send a bid request to several qualified vendors, level the bids, and award after consulting with your client. The bases are loaded with no outs and one run needed to win.
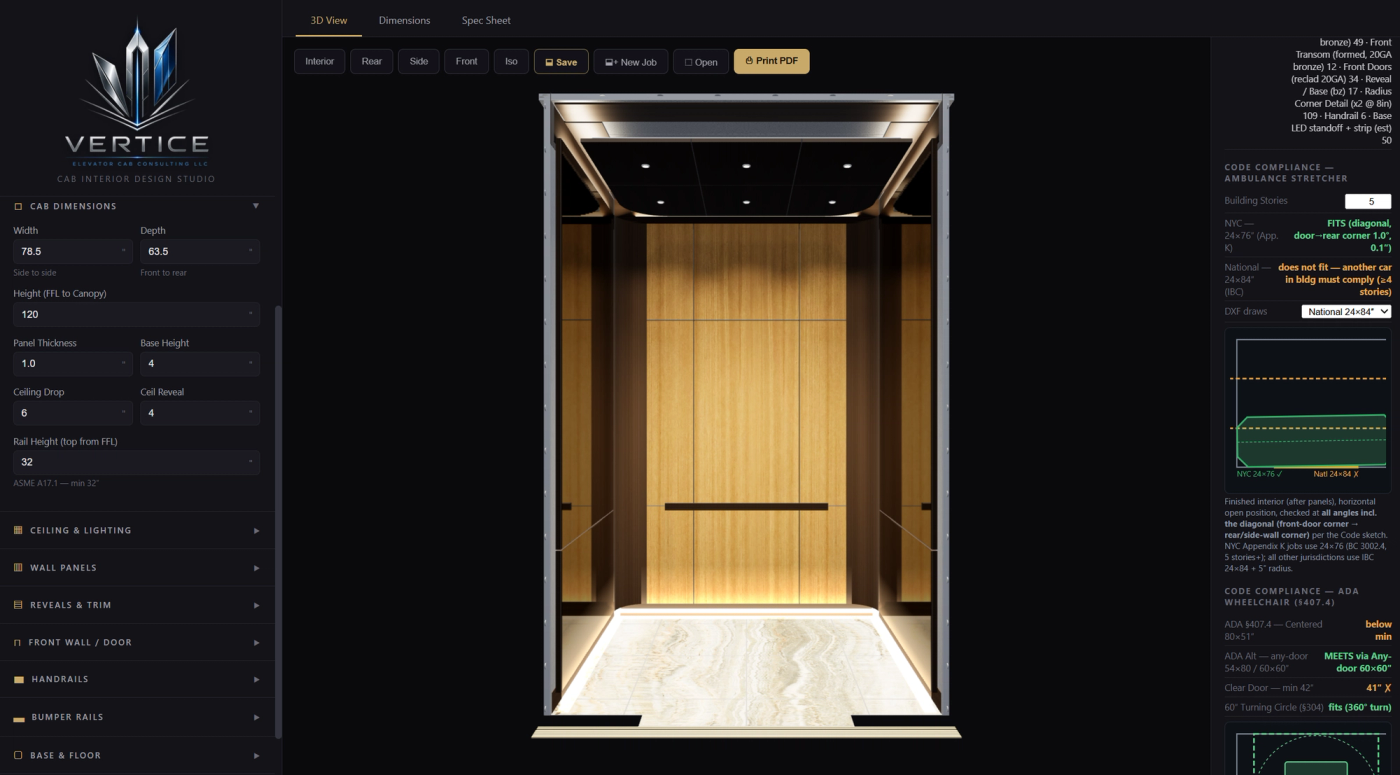
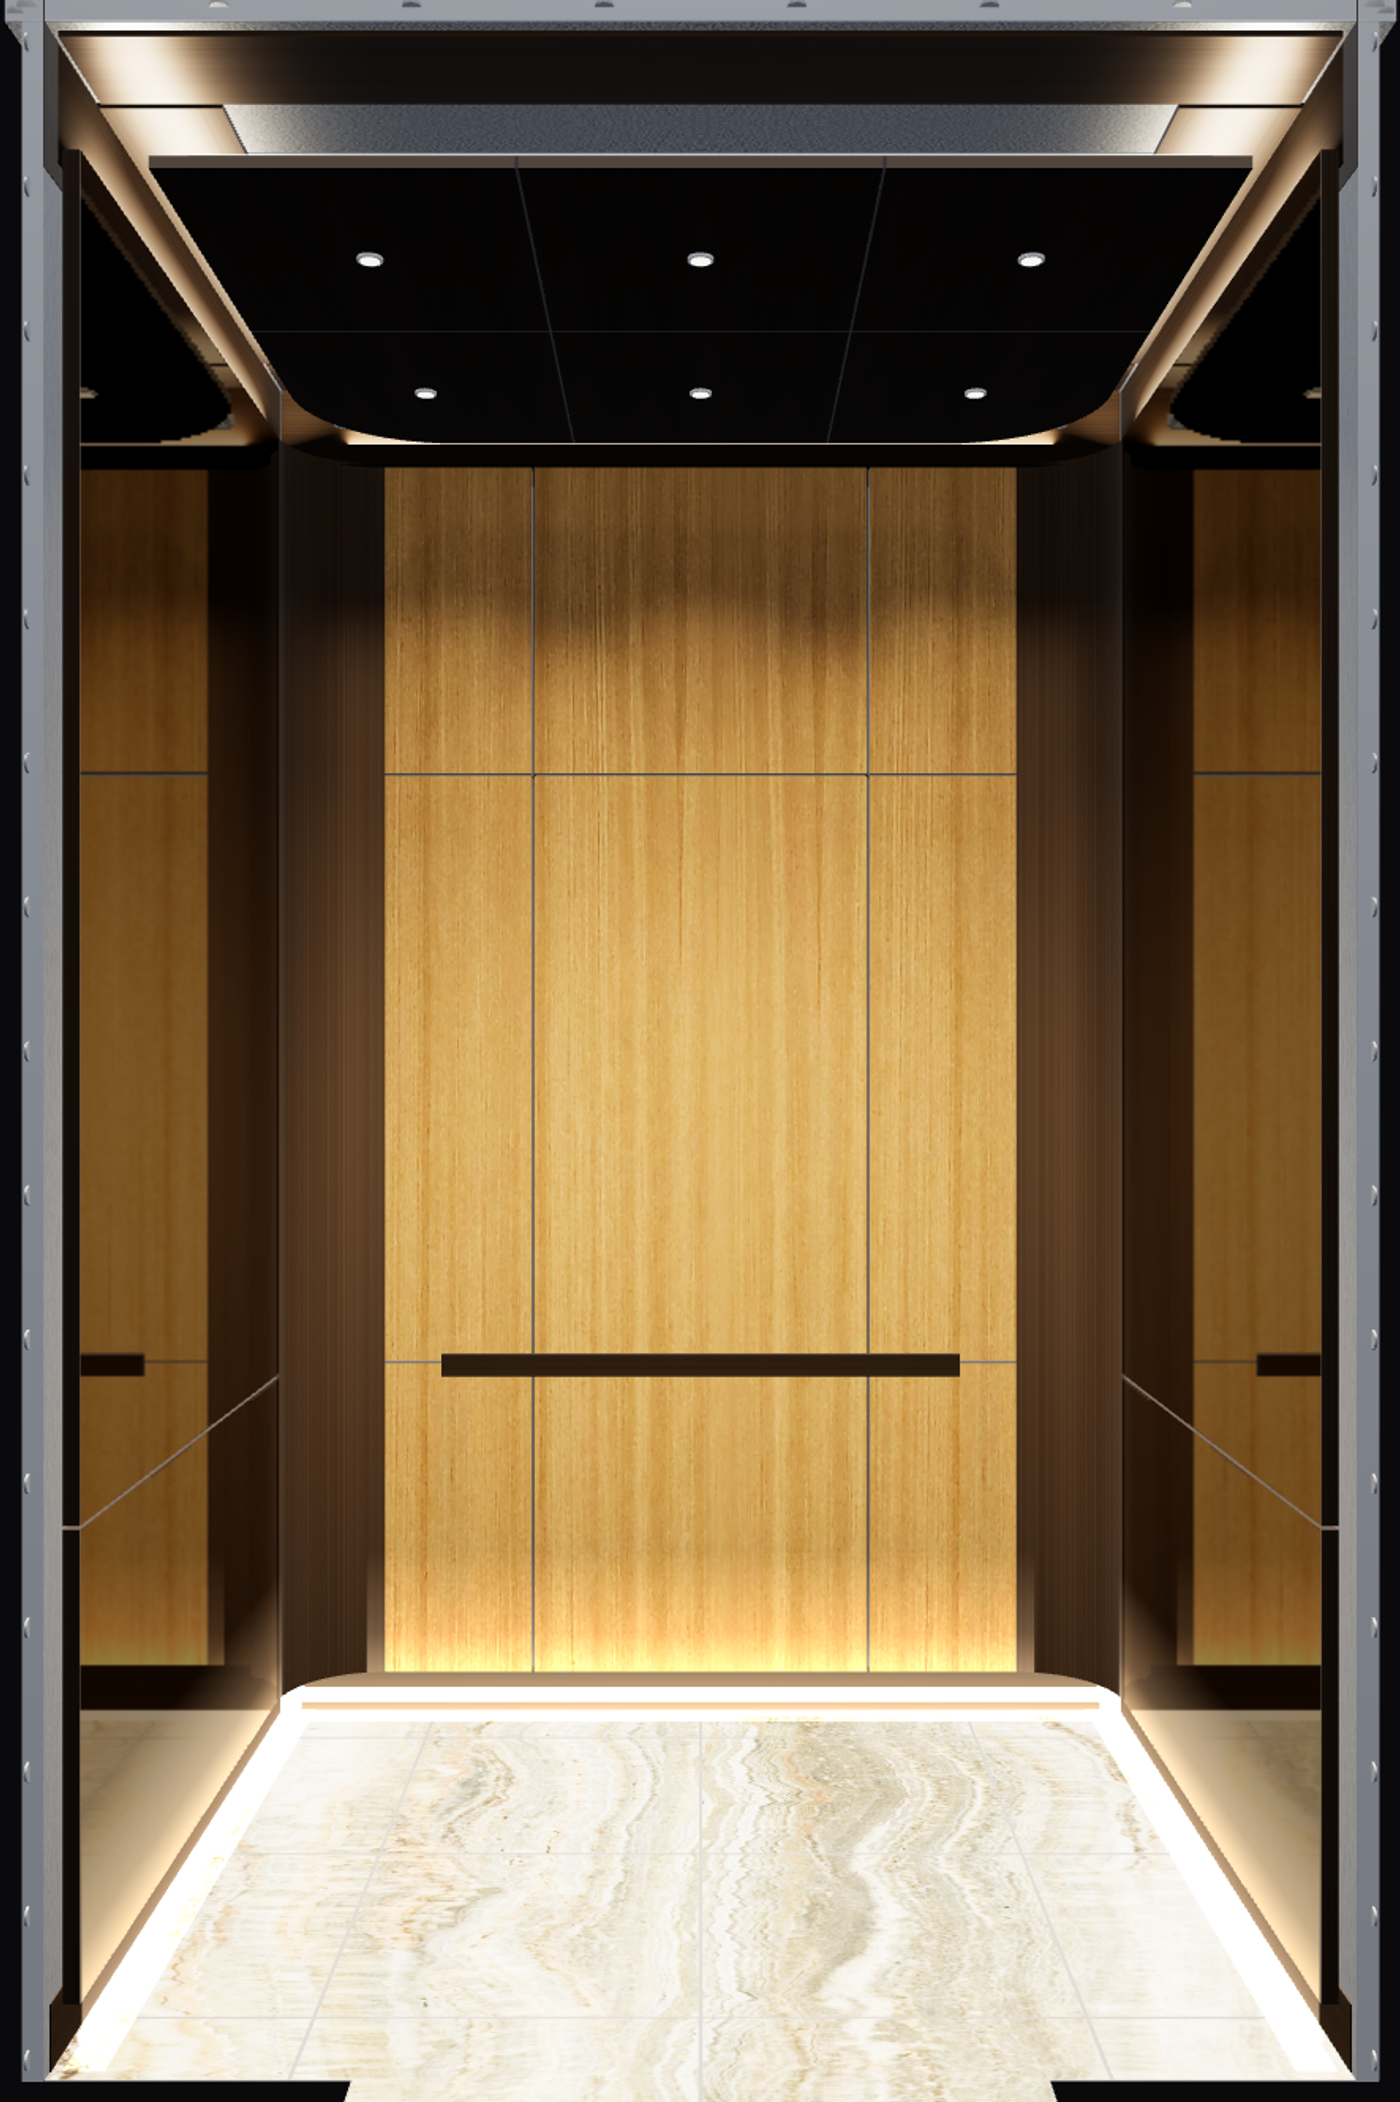
That is the whole process. It is not complicated, but it does depend on knowing what you are doing, and it works best when we are brought in as early as possible. If you are an architect, designer, owner or elevator consultant with a cab on the horizon, call before the materials are chosen and the drawings are final. The conversation costs almost nothing, and it protects everything you are about to spend.
Planning cab interior work?
Talk to us before the first panel goes up. The first consultation is complimentary.
Book a Free Consultation Call 917-963-6063