 VERTICE
The Elevator Contractor's Water Damage Response Checklist (Cab Edition)
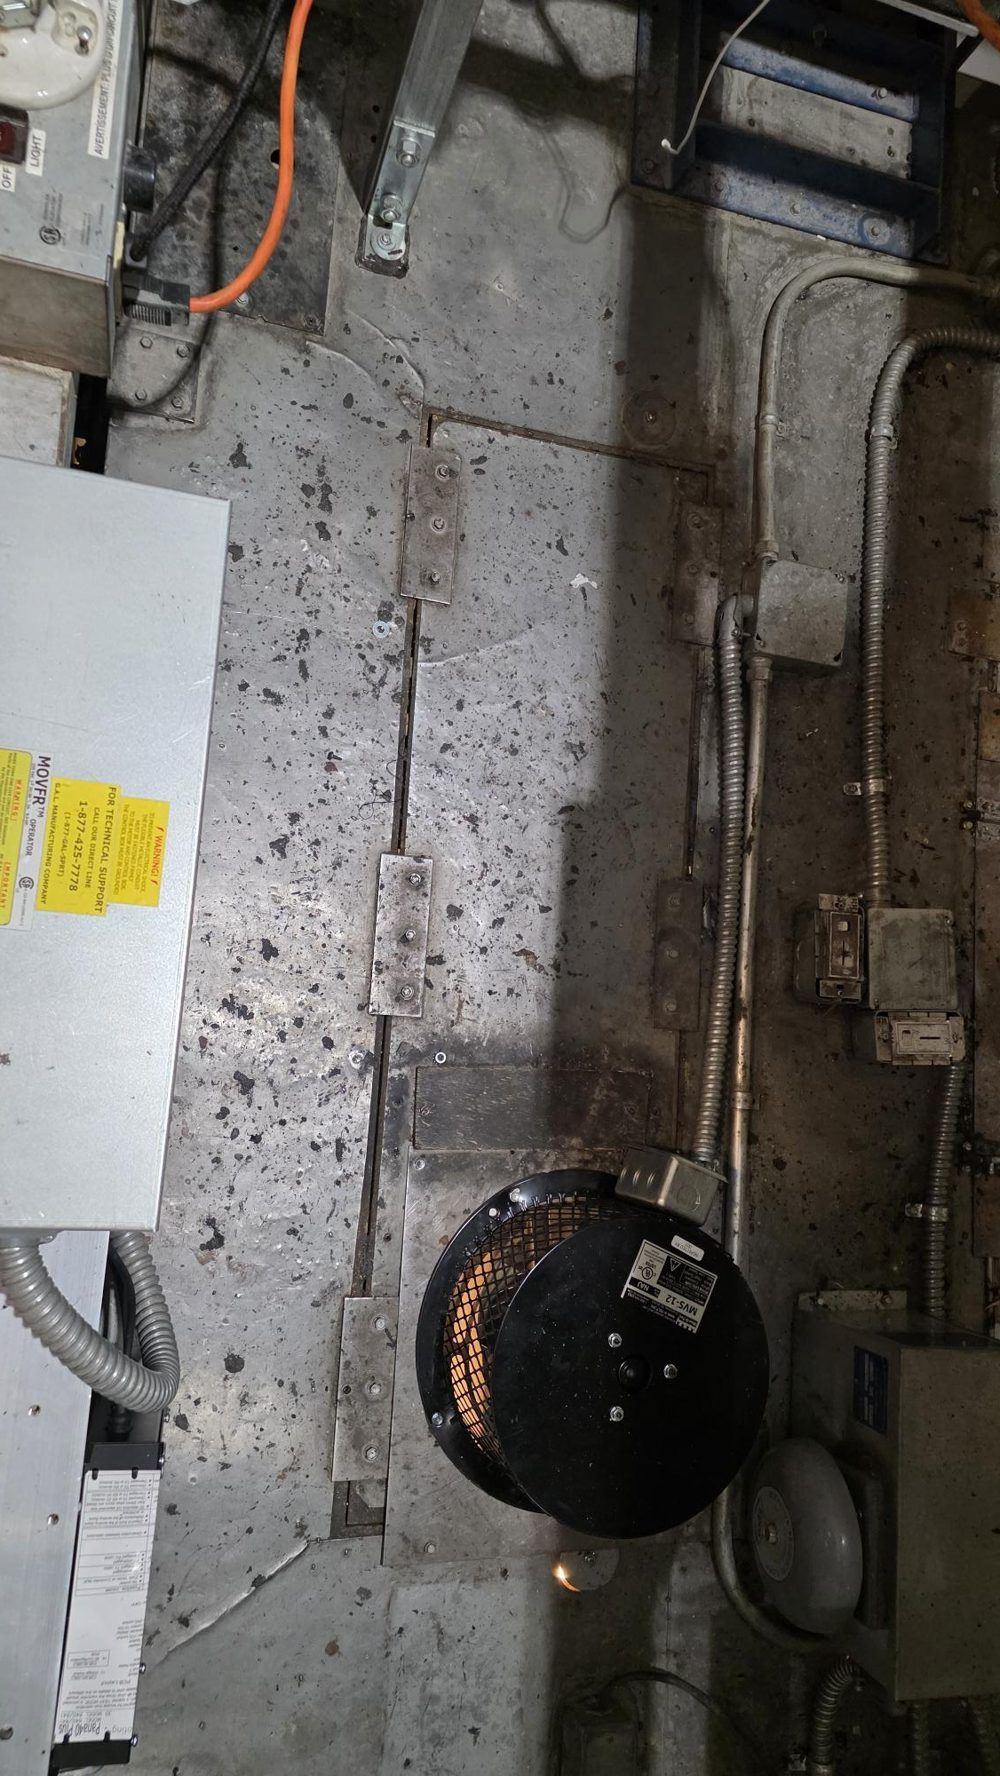
When water damages an elevator, or a group of elevators, in one of your serviced buildings, the pressure to get them back in service no matter what can leave a lot of items off the table. At Vertice we are here to evaluate, document and estimate the repairs that are (and will be) needed after water infiltration. Understanding the urgency, here are some pointers on what to look for, what to do and when to call.
1. Take pictures before cleaning up
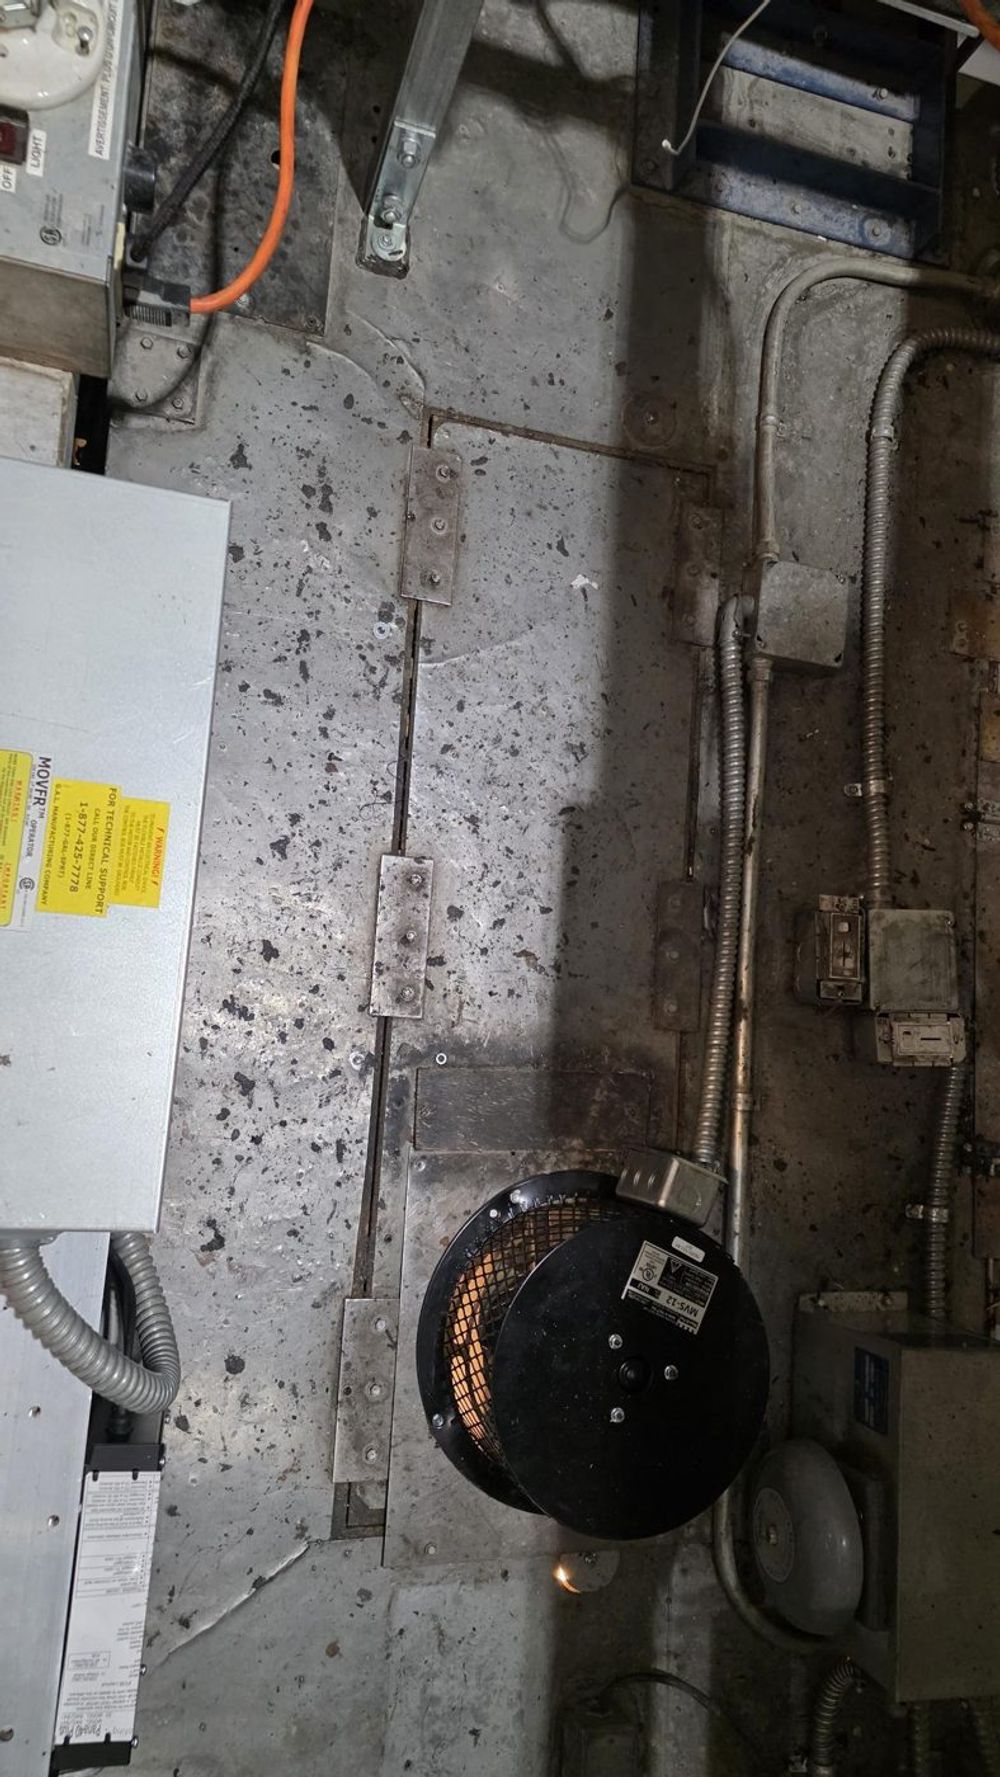
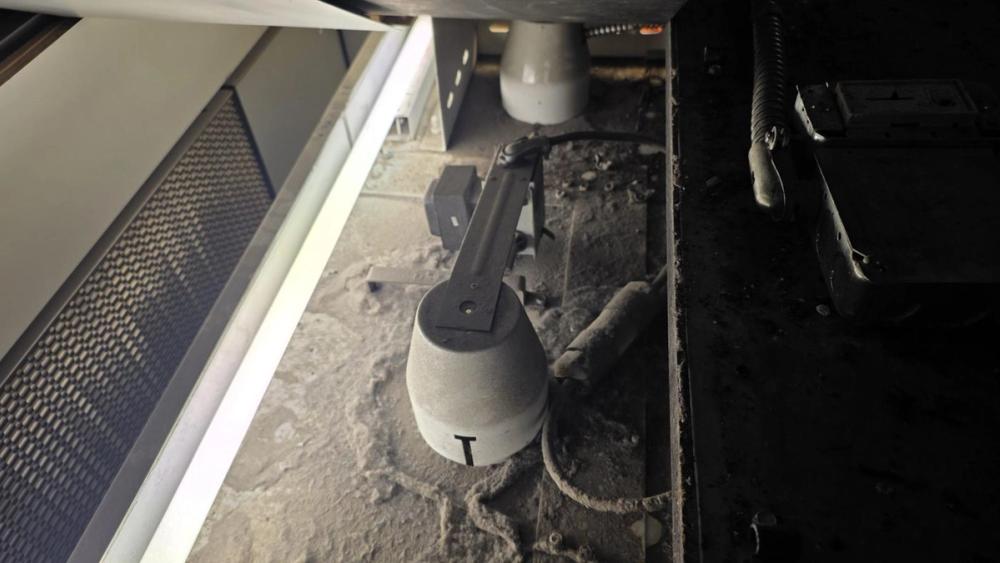
Before cleaning up the cab interior and top of car, take pictures. Water evidence such as clumped (coagulated) dust on top of the car, water trail marks down the sides or back of the shell, and water marks on the interior of the cab show indisputable water contact and infiltration. In the case of wood or wood-backed components, they make a clear argument for immediate attention.
Electrical components such as fans and lighting may remain operable, or may be dried out and put back in service, but in time water infiltration can cause failures down the road. Documenting at the time of the incident is the only way there is no question on the need for replacement.
2. Shoot video, too
Pictures are worth a thousand words, but video is even better. If the water issue is ongoing, video the collection, puddling, dripping, or sometimes cascading, water in or on the elevator.
3. Look for high-risk areas
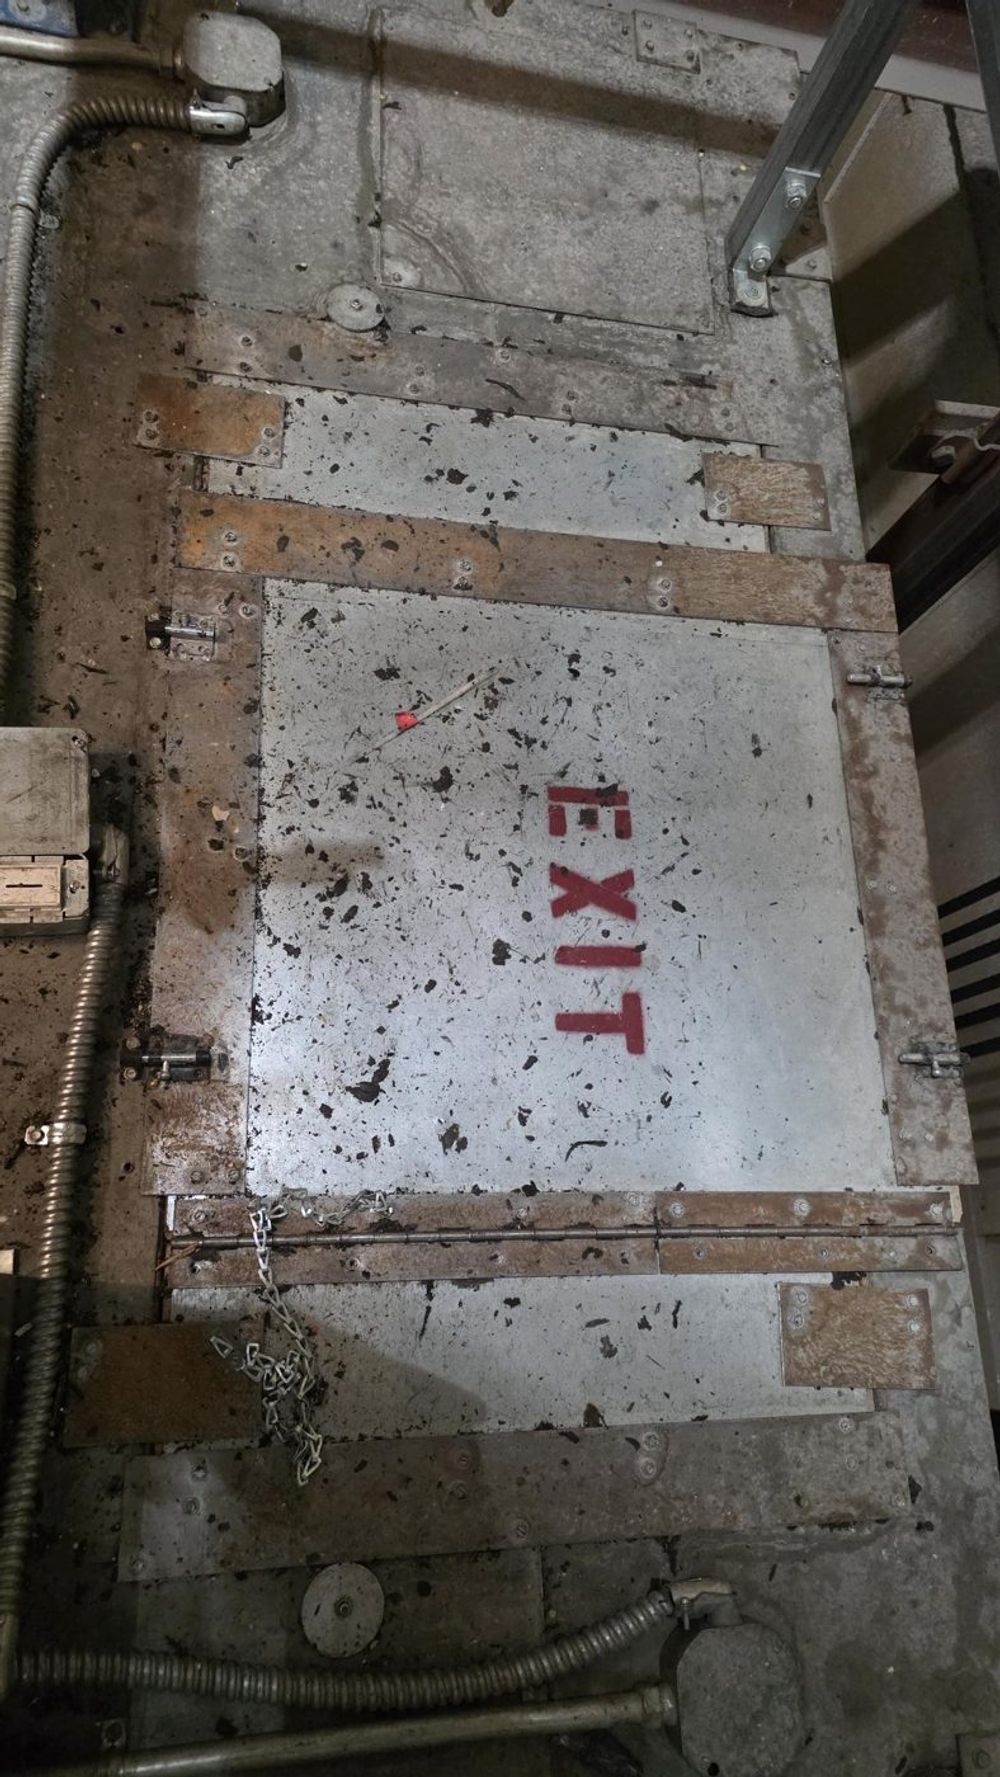
Top exit hatch openings, fan openings, access hatches, and perforations in the canopy and access panels are all points where even low-lying water can enter a cab. Note the locations, note the water (or water markings), and note the equipment below inside the cab. Video from inside the cab is also highly recommended.
4. Follow the water inside the cab
Inside the cab, take note of the area of infiltration (exit, fan, perforations) and inspect all materials directly below the entry points, as well as where the water would go next. This is especially important in cabs with a drop, or false island type, ceiling.
Generally speaking, if water enters via the exit hatch directly above a drop ceiling, the next place it runs is over the edge of the ceiling. If the ceiling sits over the wall panels, the panels will in turn be affected. Some drop ceilings project inward several inches from the wall panels, which removes this possibility.
5. Check the flooring
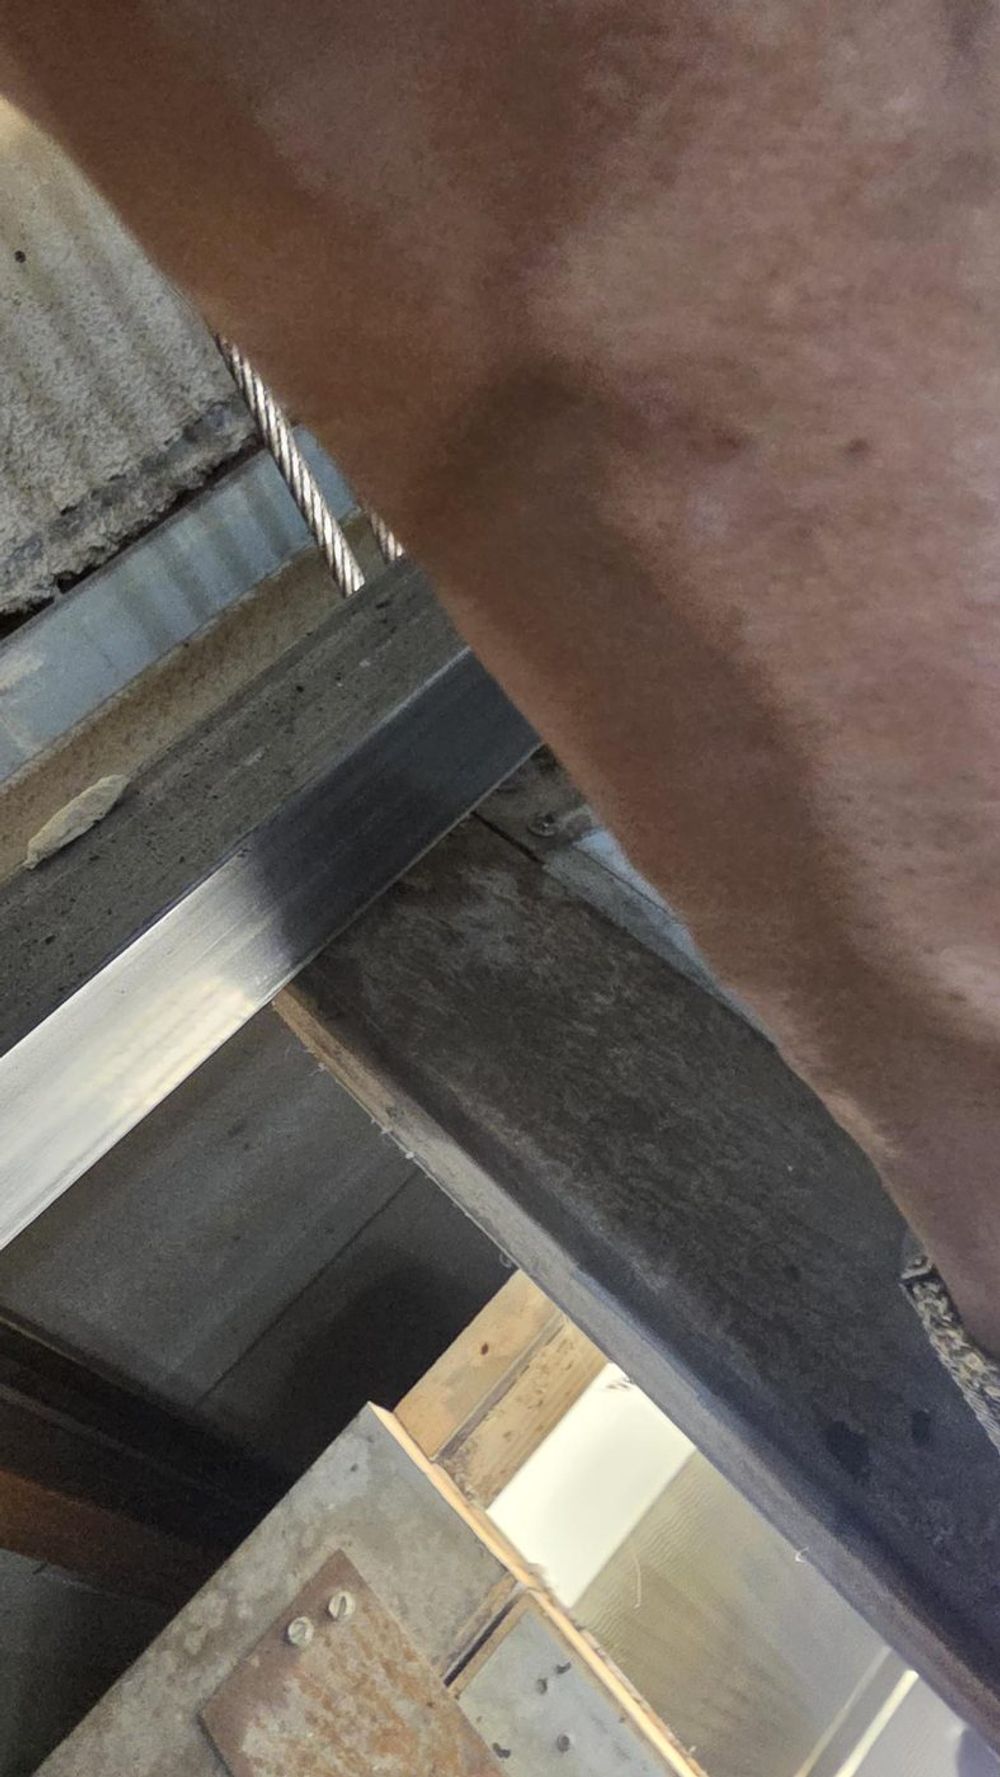
Flooring generally receives puddling of the traveling water. Take note, and photos, if the pooling seems to disappear at joints, grout lines or meeting points at the front wall or base; the significance is evidence of water seepage to the subfloor and adhesive, which could require complete floor replacement.
6. Verify the shell construction (most important)
This should be #1 on the list, but most importantly, check the shell construction! If you do not see formed metal ribs on the car top bolting pans together, see no deflection at all or hear a "tin" sound when tapping your foot on the car top, and see no ribs on the outer shell walls, chances are this is a wood construction car enclosure.
Physically view the car top: the thickness of the shell at the exit hatch or fan opening, the thickness of the canopy around the edge where it overlaps the side and rear walls, and the thickness of the shell walls where exposed will tell you what you have, outside of physically seeing wood. Generally speaking, car shell canopies and enclosures are gauge-thickness metal formed into pans, less than 1/8" thick that you can see or feel. Wood shells are a minimum of 3/4" thick (typically 1" plus).
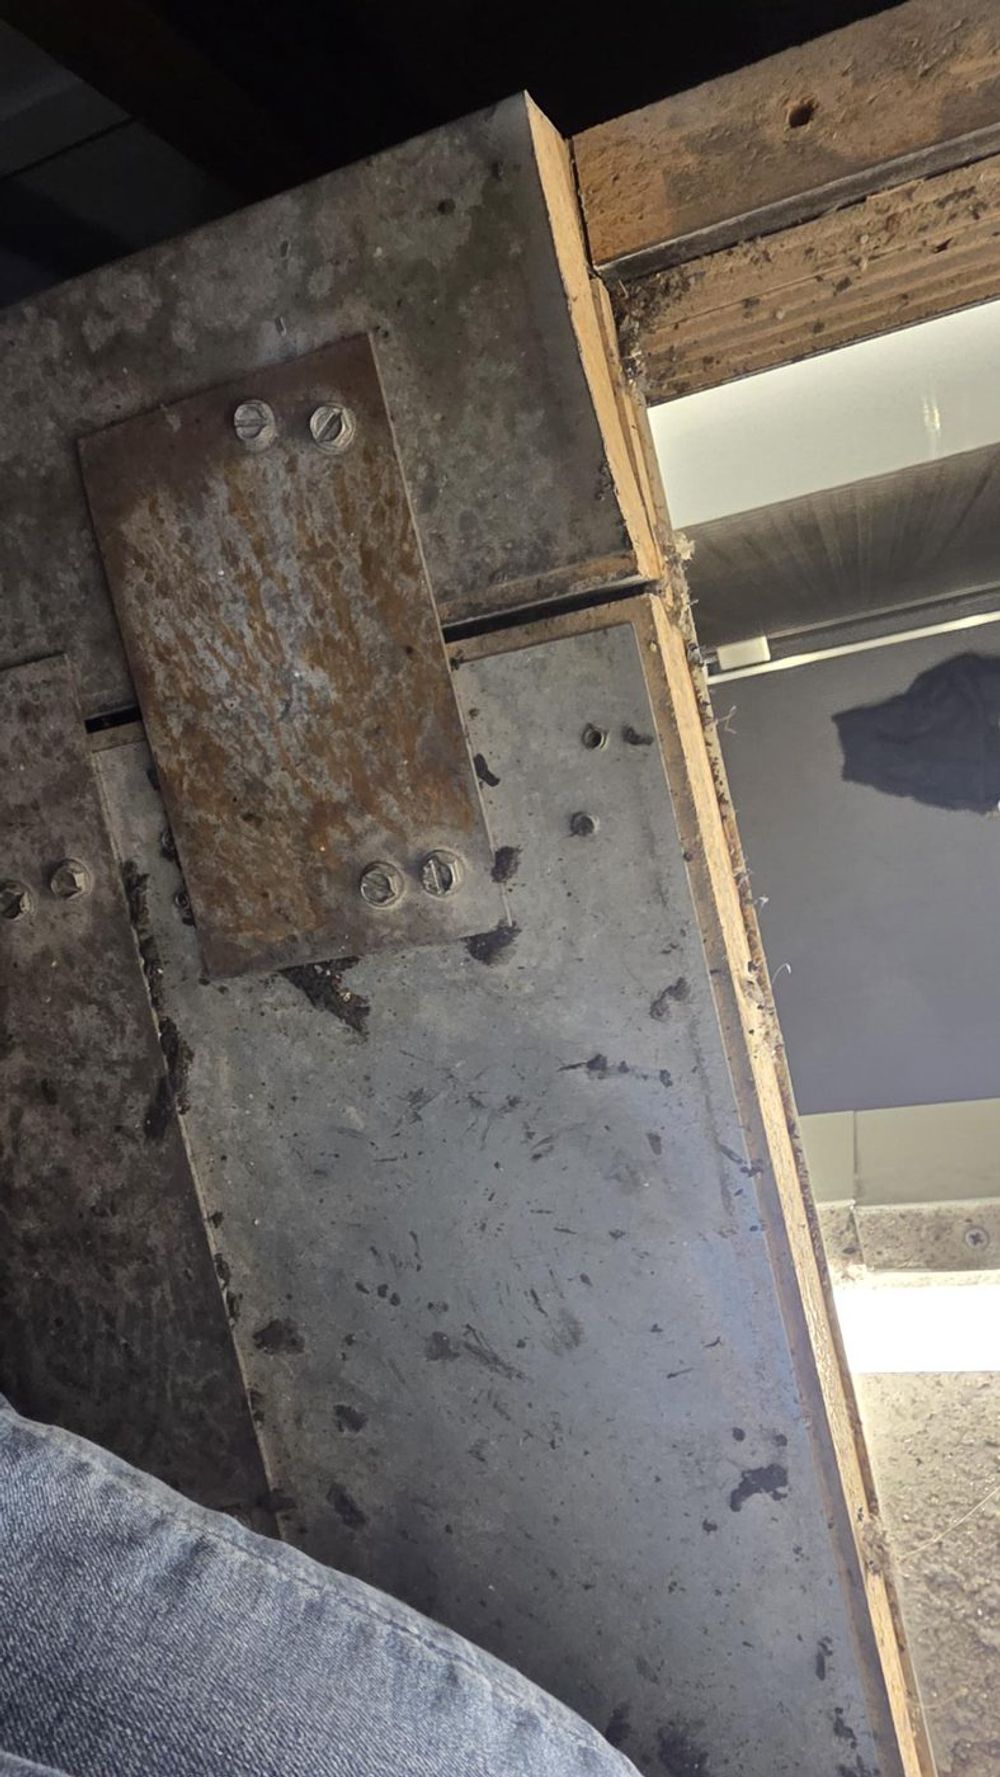
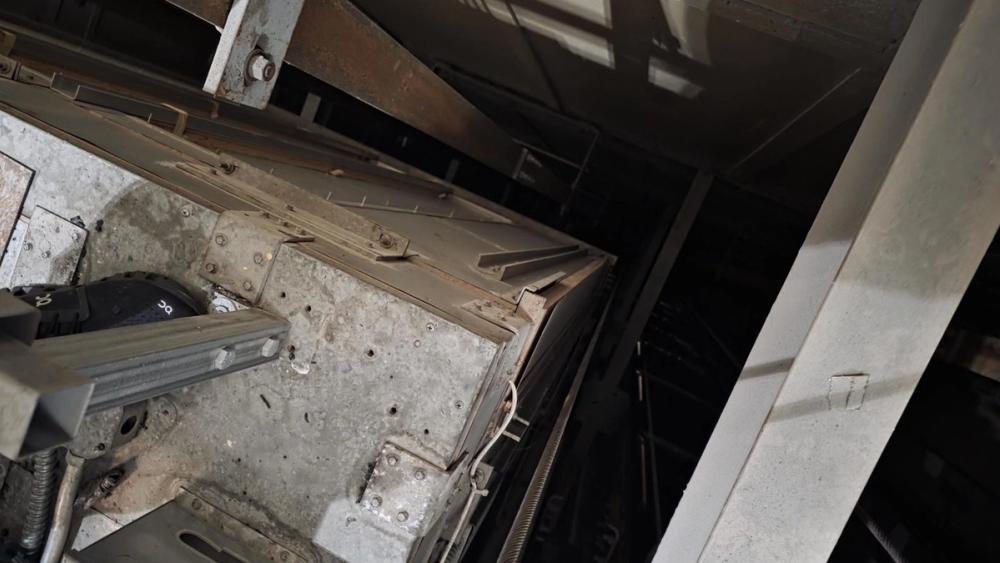
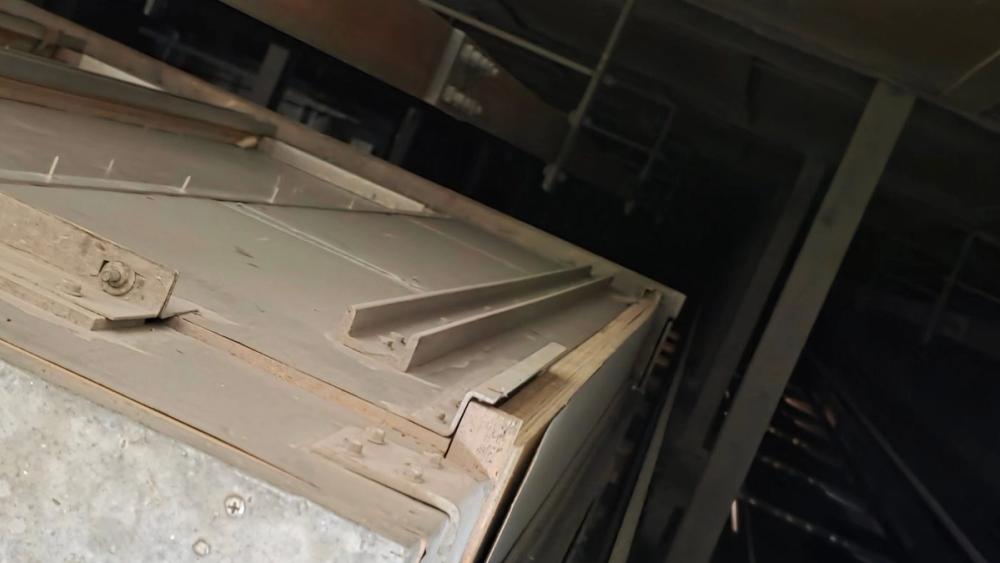
This is significant because water collecting on a wood shell poses the possibility of complete structural failure of the shell itself, and failure of the hanging apparatus for internal finishes (such as the drop ceiling). Note that wood shells are often clad with thin sheet metal for fireproofing, so verifying the shell thickness is key to determining the construction.
7. Contact us ASAP
All of the above is very helpful, but constructing an insurance-adjuster-acceptable report of conditions, physical damages and required mitigation is very important to make a proper claim and ensure proper coverage of repairs. That is what Vertice does.
Planning cab interior work?
Talk to us before the first panel goes up. The first consultation is complimentary.
Book a Free Consultation Call 917-963-6063